
There's a new healing trend setting social media on fire: wakppu (wax smashing). You pour melted paraffin wax over a squishy toy or clay, let it harden, then crush it by hand. The uniquely crispy sound and ultra-satisfying texture help countless people blow off stress.
The craze is sizzling among idols too. On the 13th, CRAVITY members Seongmin and Taeyoung dropped an ASMR video on their YouTube channel making and smashing a wakppu ball themselves, and it quickly went viral.
Now, the trend has leveled up. Meet wakppu salt bread that delights not just your eyes and ears, but your taste buds too. By using a chocolate coating, this quirky dessert nails both wakppu's visual-and-audio thrills and the flavor of a sweet treat. K-snapp takes a closer look at wakppu salt bread, the mash-up breaking the line between stress relief and indulgence.
Hand kneading is everything!
1. In a bowl, lightly mix the dry ingredients: 25 g sugar, 5 g salt, and 7 g skim milk powder.
2. Make a well in the center of the dry ingredients.
3. Completely dissolve the yeast in warm water at 25°C.
4. Add an egg to the yeast water and mix together.
5. Add room-temperature butter and all the liquid mixture to the bowl with the dry ingredients, then mix.
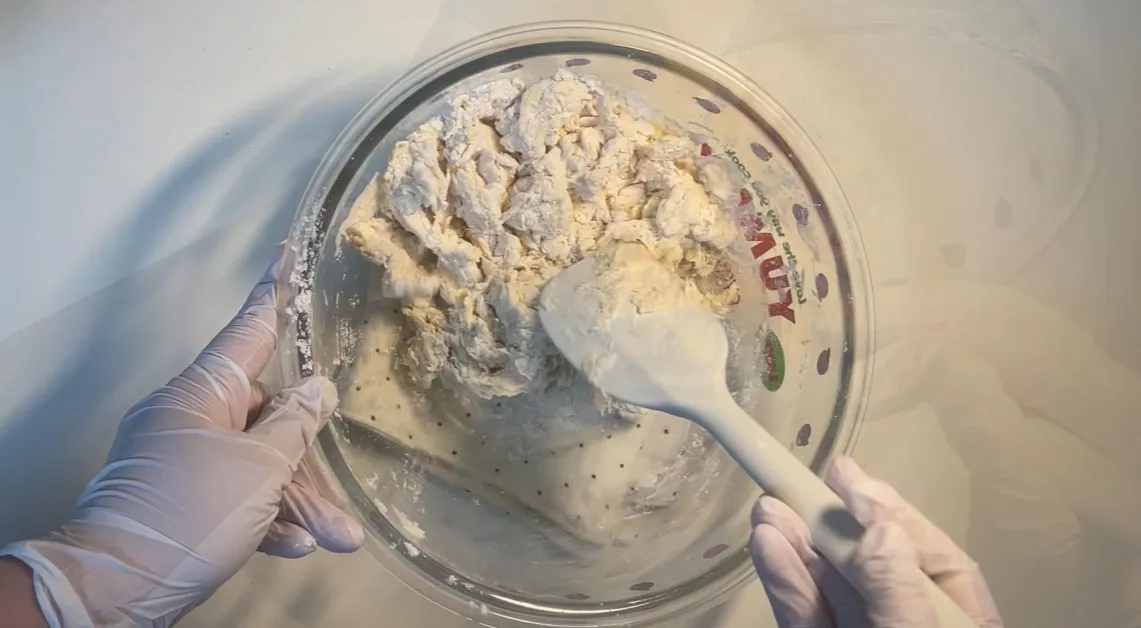
6. Start hand kneading in earnest. Tear and knead the dough for about 3 minutes.
7. Use a scraper to gather the scattered dough inward as you knead.
8. As the butter and liquids absorb, the dough may feel stickier—don't panic. Knead for another 3 minutes as if hand-washing laundry; it will stop sticking to your hands and the work surface.
9. Once the dough no longer sticks to your hands or the surface, slap and knead it on the work surface for about 2 minutes.
10. When the surface turns smooth, finish hand kneading. Place the dough in a bowl, cover with plastic wrap, a plastic bag, or a damp cloth, and proof for 30 minutes (first rise).
11. After 30 minutes, transfer the dough to the work surface and gently press it out with your hands. Do a letter fold (in thirds), then roll it up.
12. Return it to the bowl and proof until doubled in size. Place a cup of warm water in the oven and proof for about 1 hour, adjusting time based on room temperature, humidity, and how the dough looks.
13. While it proofs, cut the butter into thick 15–20 g pieces and store in the freezer.
14. Once the dough has doubled, divide into six pieces of 65 g each. To release gas and align the gluten, gather each piece like you're sealing a dumpling, then tighten the surface against your palm and round it. Cover the rounded pieces with plastic and let rest for 10 minutes (bench rest).
15. Degas, then roll each piece into a log and shape it into a tadpole form with one end thinner (first shaping).
16. Cover with plastic so the dough stretches well and let it rest for 20 minutes (second bench rest). Take the butter out of the freezer. Roll the tadpole-shaped dough with a pin so it's thicker at the top and thinner toward the bottom for a prettier shape.
17. Place the butter near the top and loosely roll it up without squeezing. If you roll too tightly, the surface can tear or lose volume in the oven—be gentle.
18. Cover with plastic and proof at room temperature until the dough is about 1.5 times larger (final proof). Keep this rise shorter than regular bread; over-proofing prevents salt bread's signature butter tunnel from forming.
19. Right before baking, lightly mist the surface with water and sprinkle on pearl salt. Bake in a preheated 230°C oven, then lower to 210°C and bake for 20 minutes. Adjust time based on your oven and desired color.
20. Transfer the baked salt bread to a wire rack and cool completely.
Cut without splitting it in two
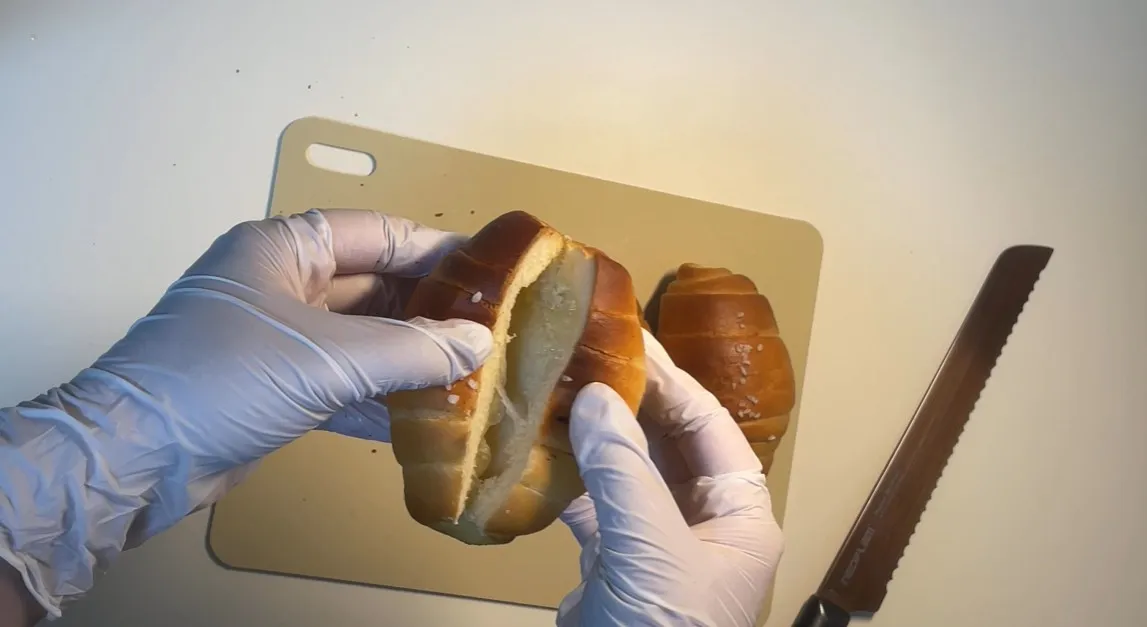
1. Once fully cooled, slice the salt bread horizontally across the center, leaving the ends attached so it doesn't split completely in two.
2. In a bowl, add 250 g heavy cream, 10 g sugar, 10 g condensed milk, and 30 g yogurt powder. Whip until stiff to make yogurt cream.
3. Fill a piping bag fitted with a round tip with the yogurt cream.
4. Pipe cream into the slit, add fruit on top, then pipe more cream to cover the fruit.
5. Freeze the filled bread for at least 1 hour until firm.
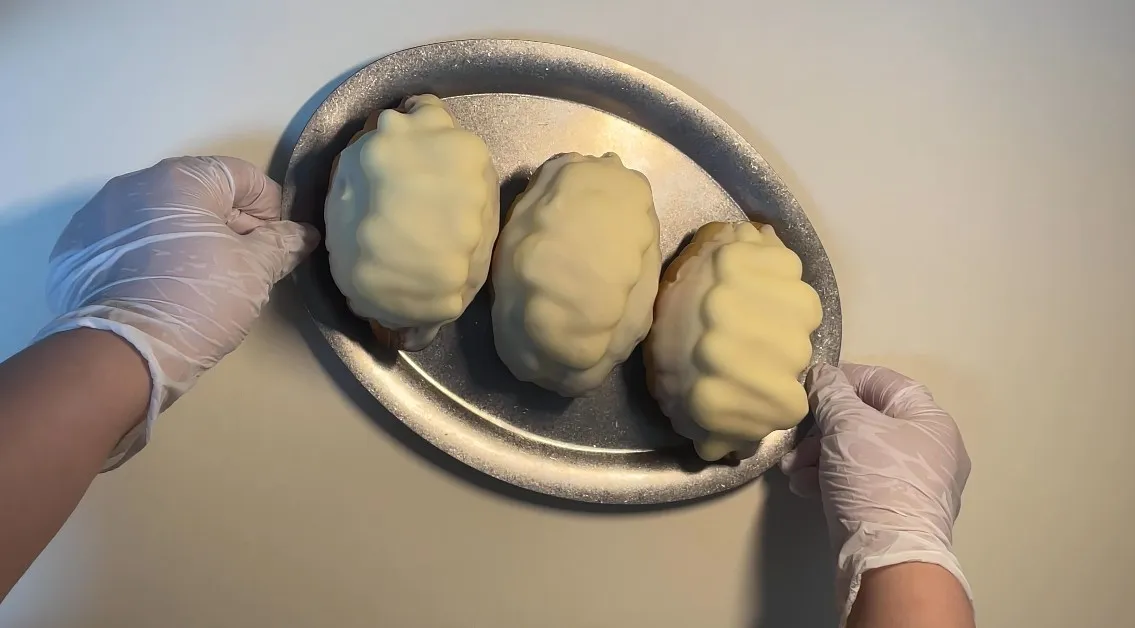
6. Once the cream sets, take out the bread and evenly coat the top with white coating chocolate.
7. Freeze briefly again, then remove—your wakppu salt bread is ready.